How to: Create a Dummy VuMeter
It is now quite simple to setup a dummy device endpoint for a 1d strip display, so you can add diagnostic effects such as VuMeter in the browser front end and use this to triage audio input.
The VuMeter is an audio power indicator taken from the audio input before normalisation by ledfx, so represents the absolute audio input level.
The following will capture those steps from scratch.,
Create a Dummy device
Starting from a clean config.json by deleting the file in the .ledfx directory, this is not necassary, but keeps all of my complex configurations out of the way for this example and ensures I turn on all the correct features from scratch.
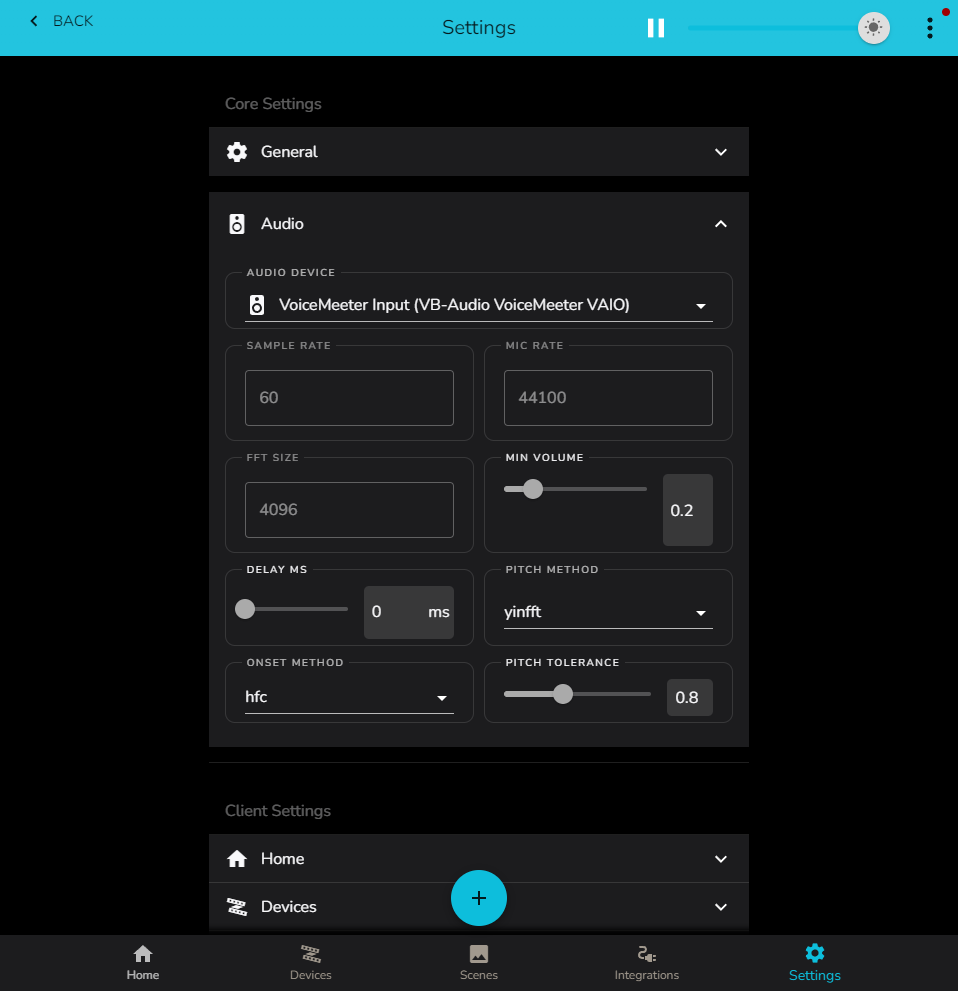
In my case my audio is routed from the loop back of voicemeeter, we are checking this to ensure we get audio when we get to test our VuMeter effect.
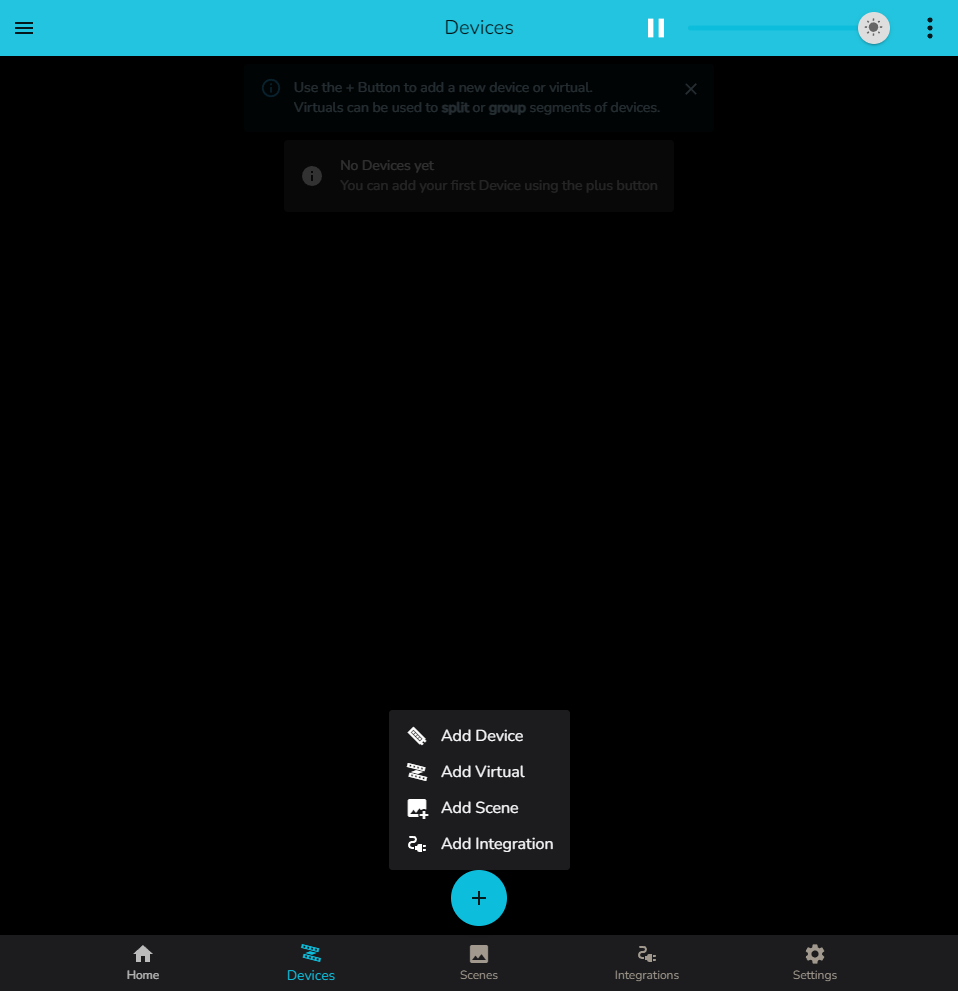
So lets add a device using the bottom icon
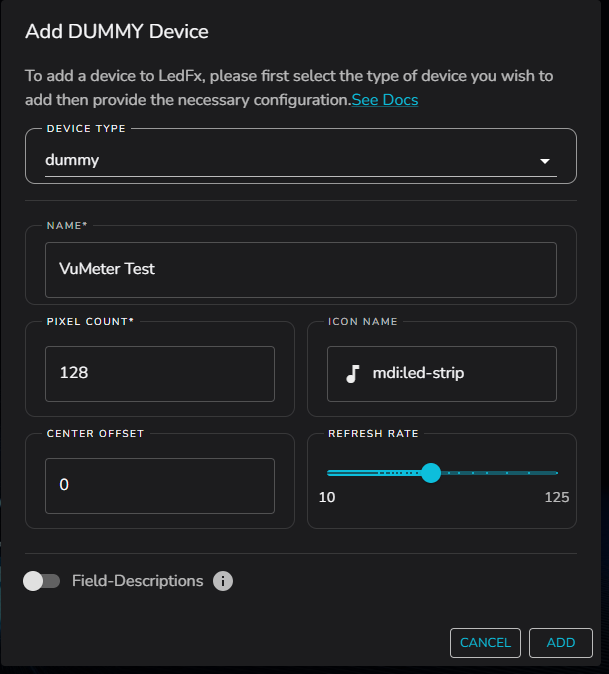
Select Dummy device type, which is a device type that will only render to the browser front end and is intended for testing
Give the device a name, in this case we are looking to imply that this is a VuMeter for testing
Set the number of required pixels, 128 is plenty for the VuMeter
hit ADD
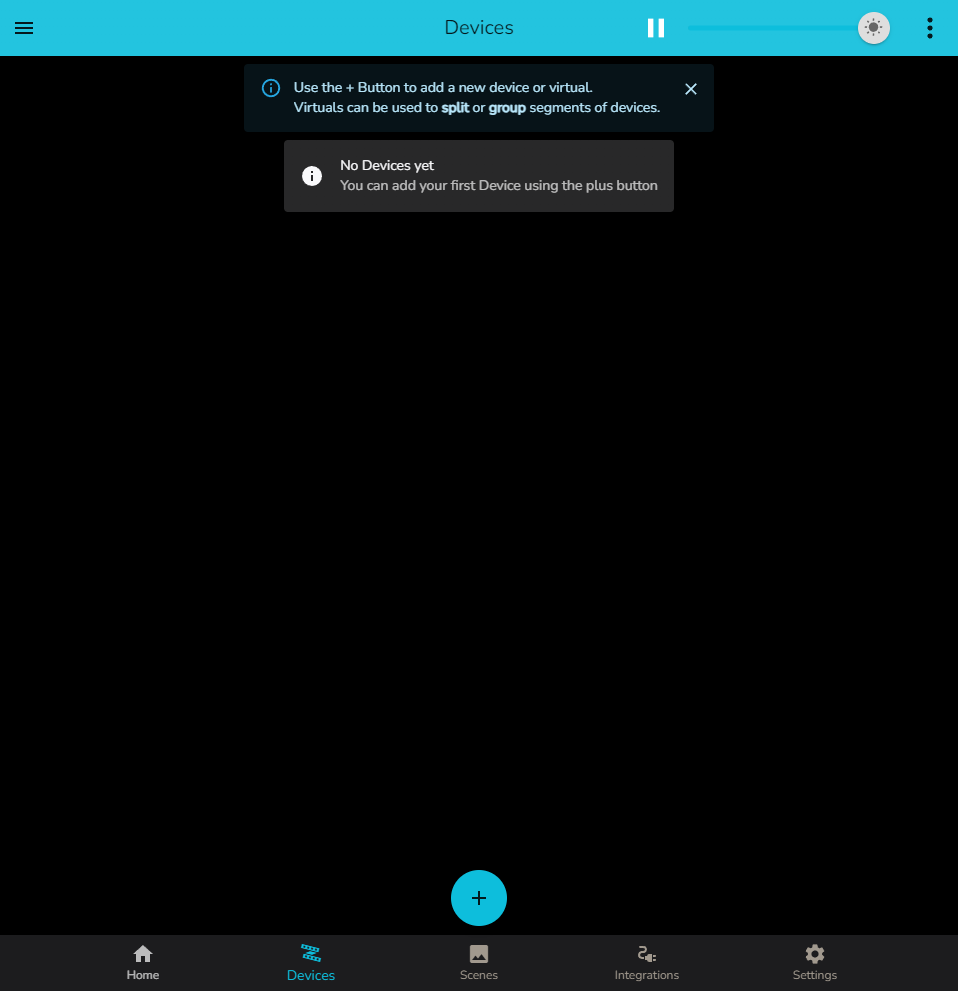
We should now have our device created (edited)
Open the Device Virtual view
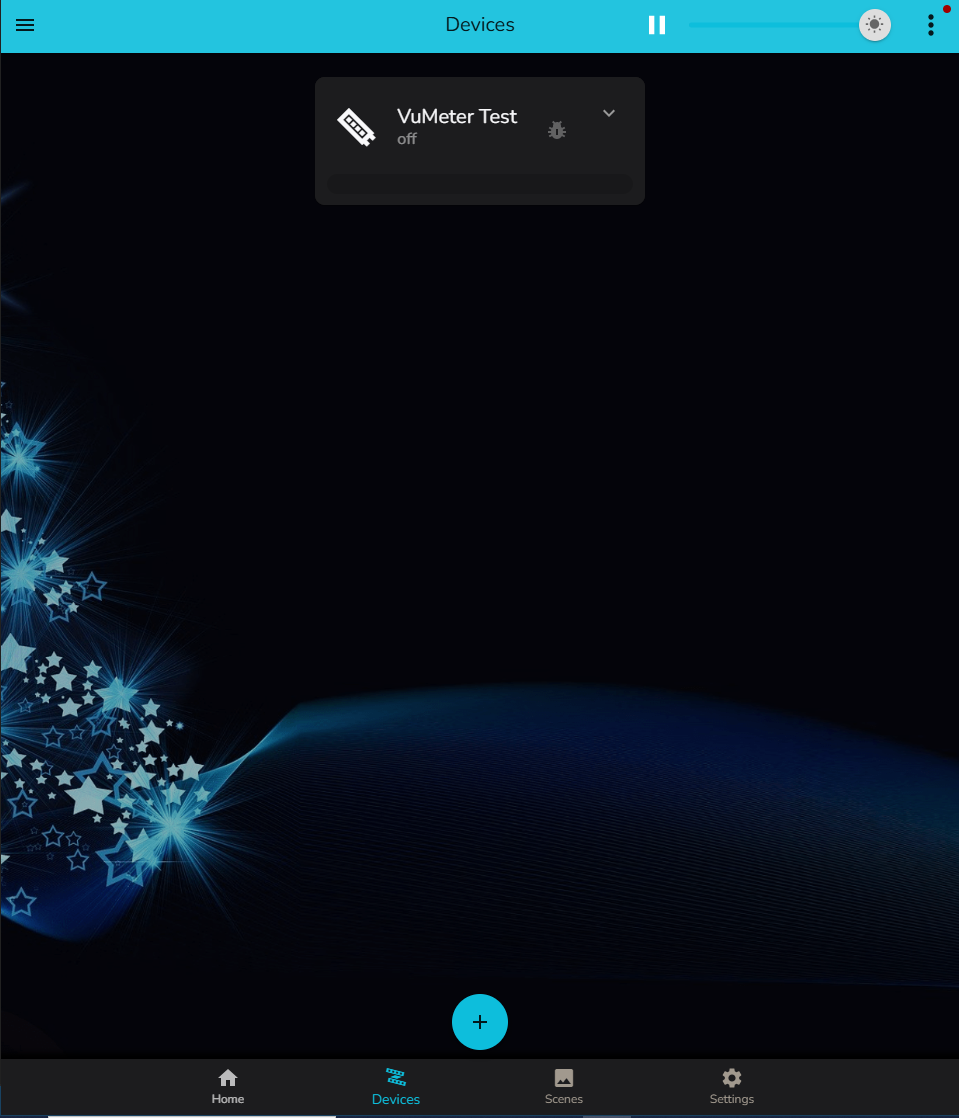
From the devices view click in the main body of the VuMeter Test device
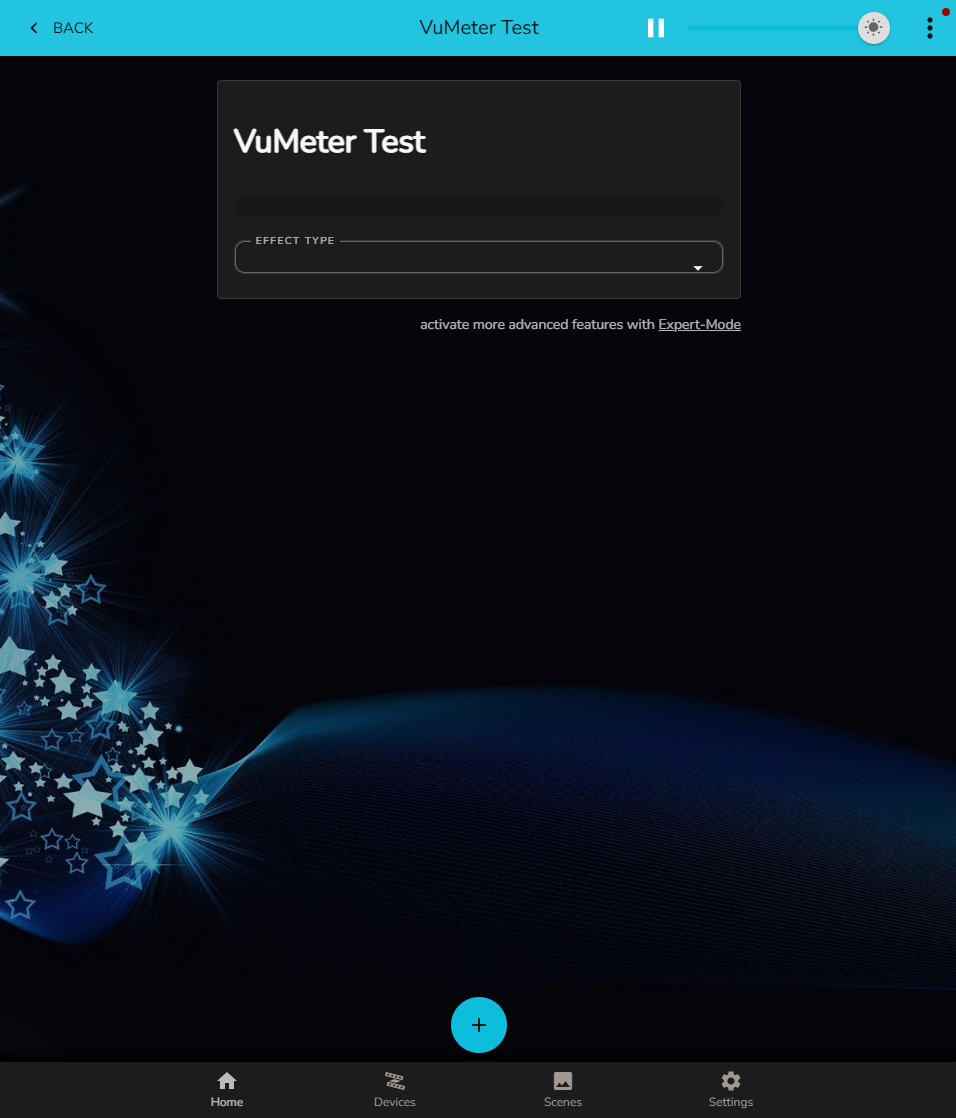
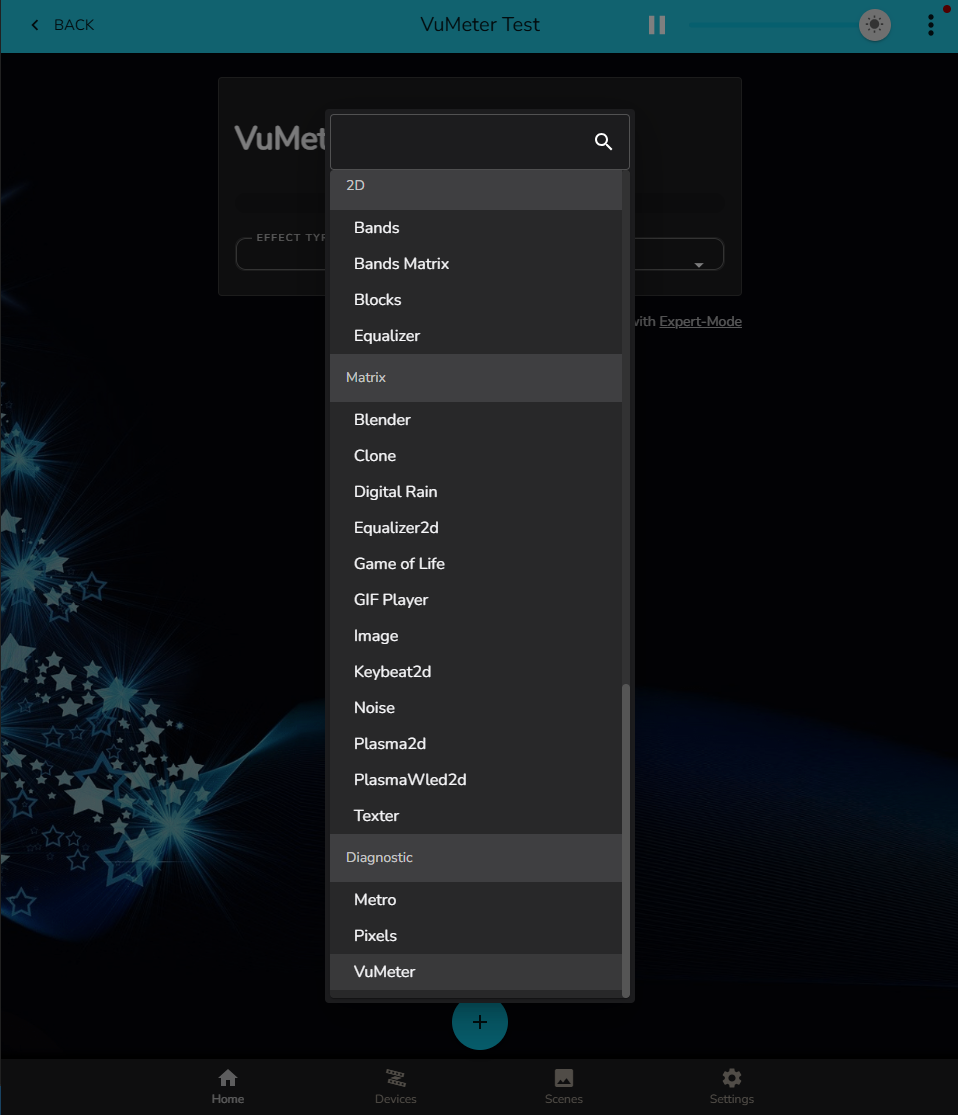
Select VuMeter Effect
Select VuMeter from down the bottom of the effect selector in the Diagnostic effects section
VuMeter Effect Options
The activated Vumeter has several characteristics and settings.
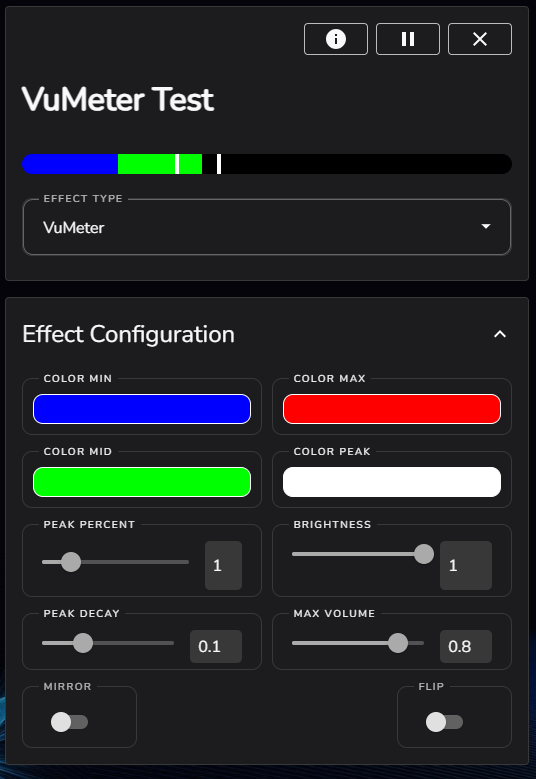
Color Min: is the color used to indicate the range upto the min volume setting from the audio configuration under Settings / Audio below which no effects are generated. The default value is 0.2 and will be displayed in this case in blue.
Color Mid: is the range which is considered healthy for the absolute input, though it is an arbitrary range set to be upto Max Volume from the slider within the effect. In this case displayed in green.
Color Max: is the color used to indicate when the audio input is above the Max Volume. In this case set to 0.8 It is ab arbitrary value selected to indicate the audio input is high, however, there is no adverse implication unless it hits 1 and causes audio clipping, which will remove true frequency characteristic of the audio analysis.
Color Peak: is used for the min / max peak markers that bounce out to min / max audio levels and converge back. These give the user a better chance to assess the min max volumes with a slower response to the main VuMeter level.
Peak Percent: This sets the width of the peak markers as a percentage of the overall device length.
Peak Decay: sets the speed at which the peak markers converge towards the current audio level.
Max Volume: Sets the level at which the VuMeter displayes Color Max, in this case set to Red, but the audio level is below Max, so no red is displayed.
This dummy device can be used to monitor audio input level without taking up a physical device and interrupting your light show.
VuMeter can be run on any physical device should it be desired.