How to: Load Example Config
There is an example dummy config stored in github that will substantiate 4 2d matrix dummy devices and 4 1d strip dummy devices to allow a user to investigate functionality even without physical led devices.
This can be very useful for examining audio issues, without geting involved with the physical devices or for looking at live examples of features such as scenes and playlists with a working configuration. Its also a good base to start exploring more complex virtuals, using the existing devices as the segment sources.
Import the config
First grab a copy of the raw config file from the latest github location, open the page with
and download by hitting the button highlighted in yellow
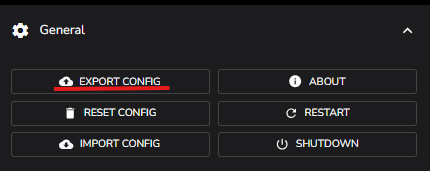
Next back up your existing config if there is anything you want to save with the settings / general / export config button in ledfx, which will save config.json to your current active download folder.
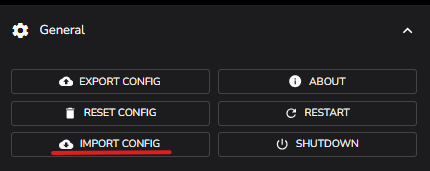
Now use the import config button and from your current download directory, find and open scenes_playlists.json
LedFx will load the new config, restart the LedFx engine, and depending on how you start Ledfx, open a new browser instance, or you may have to press refresh (F5)
Dashboard View
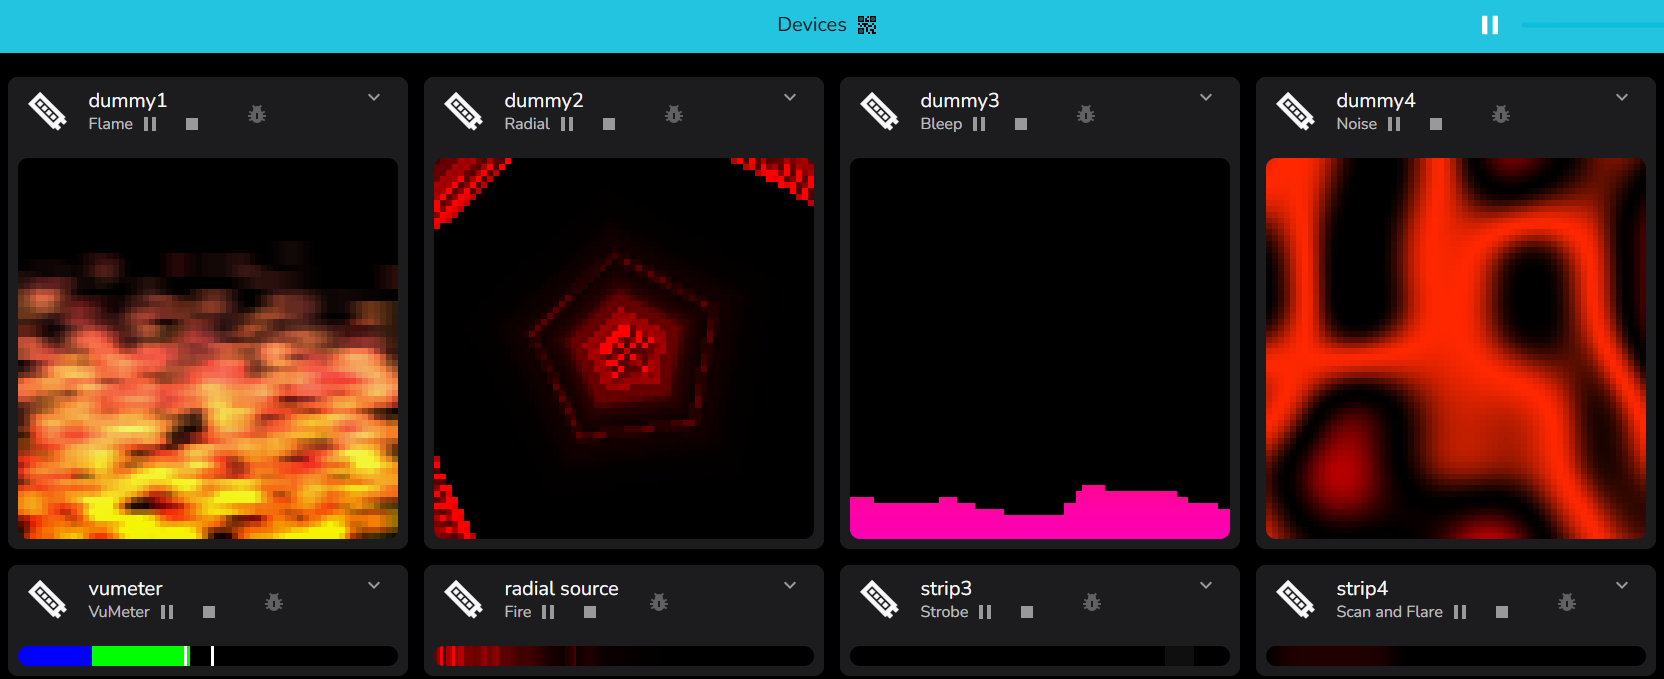
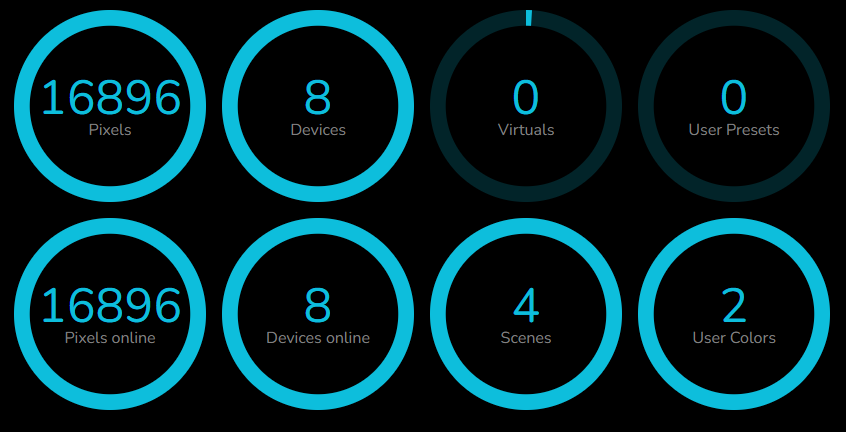
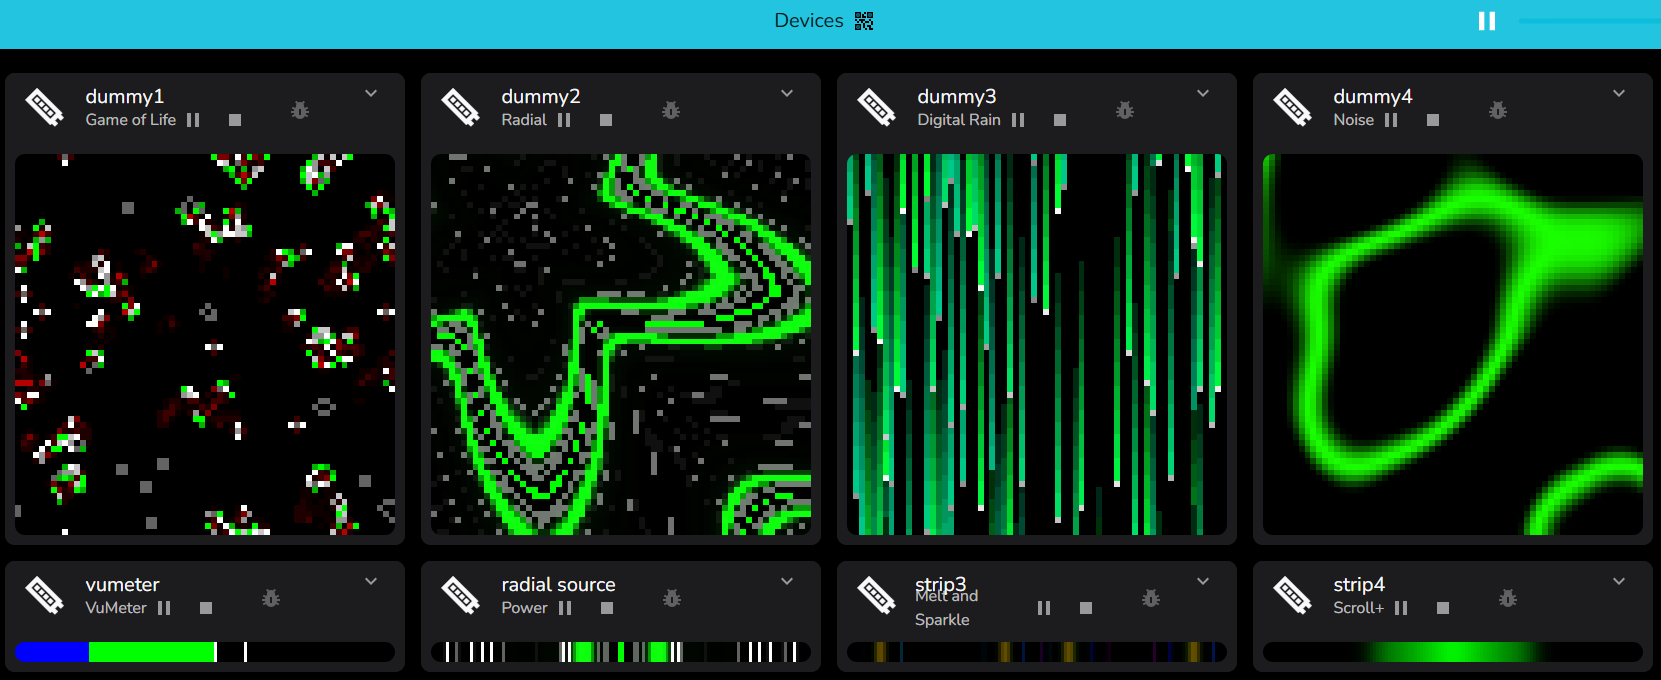
You should now see a significant number of pixels and devices listed in the main dashboard view.
Setting audio device
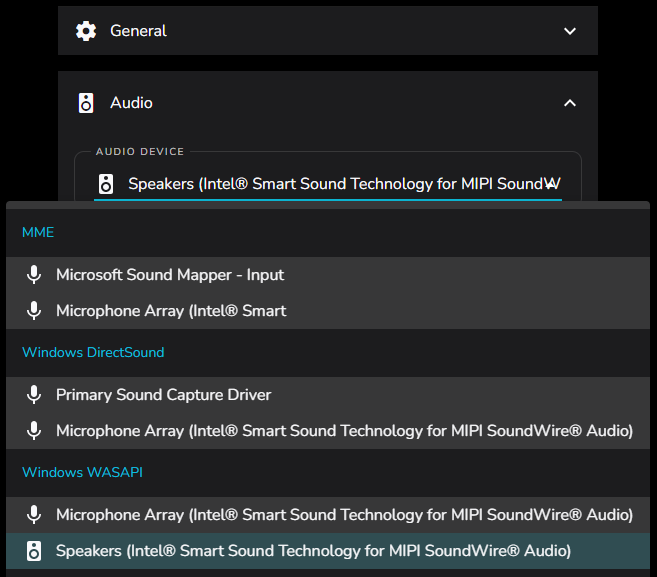
Your audio device configuration is likely very different from that stored in the example config. In most cases Ledfx will fall back to your system default device, which may or may not be suitable, so go check it in Settings / Audio / Audio Device
In this case we are using the windows loopback device that LedFx automagically establishes against valid output devices.
Scenes
Now select scenes from the bottom bar, and you should see the following

These are the four example scenes built into the config
Mixer
Select the mixer scene, then select devices from the bottom bar, and you should see the following, with a rainbow set of base colors.
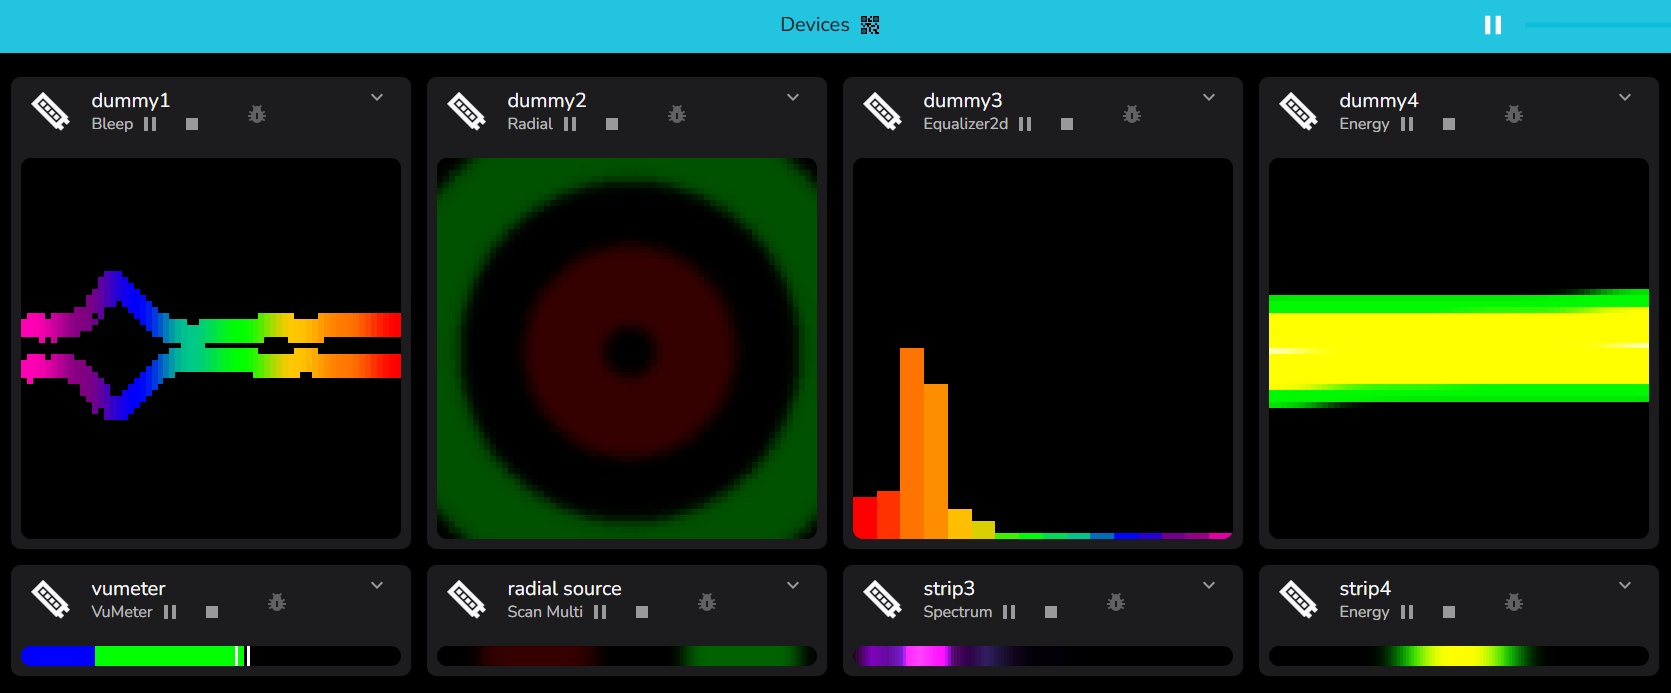
The important effects for our immeadidate purposes are :-
VuMeter bottom left, which is the absolute raw audio power coming in throught the selected audio device. If this effect is empty, rather than jumping to your audio sources, then you have problems to resolve on your audio device selection or deeper system audio configuration.
Dummy3 Equalizer2d top row, 3rd across, is the dynamic equaliser of the incoming audio, use this, once VuMeter looks sane, to ensure your are getting the audio response you expect.This equaliser is normalised, so an audio frequencey sweep should show full peak value across the range.
It takes a bit of experience, but if you are using for example, a microphone input, rather than direct local audio or line in, then you can expect a poor response curve with significant loss of bass and roll off in higher frequencies.
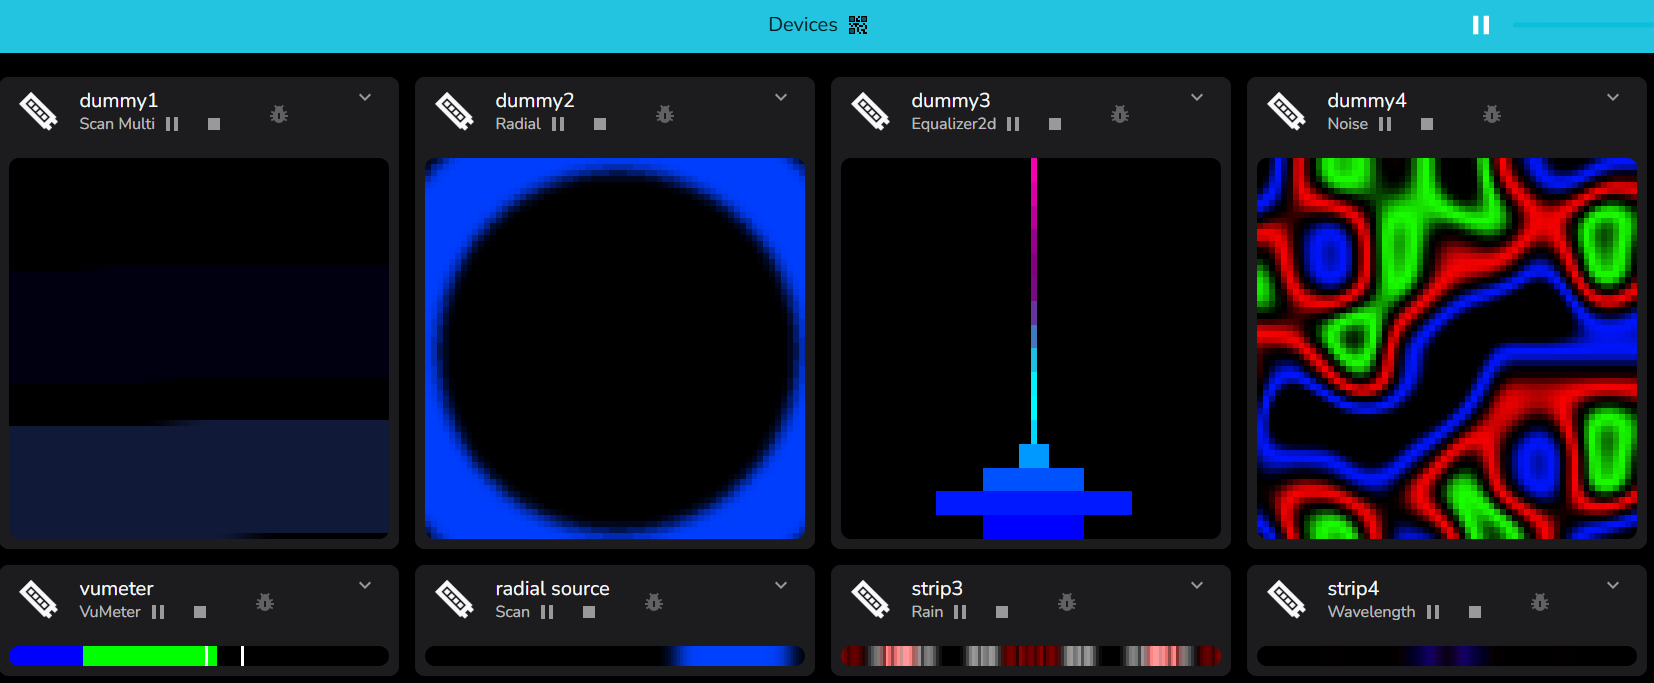
The other 3 scenes are intentionally color distinct, and are
Blue Cat
Green Tree
Redly